










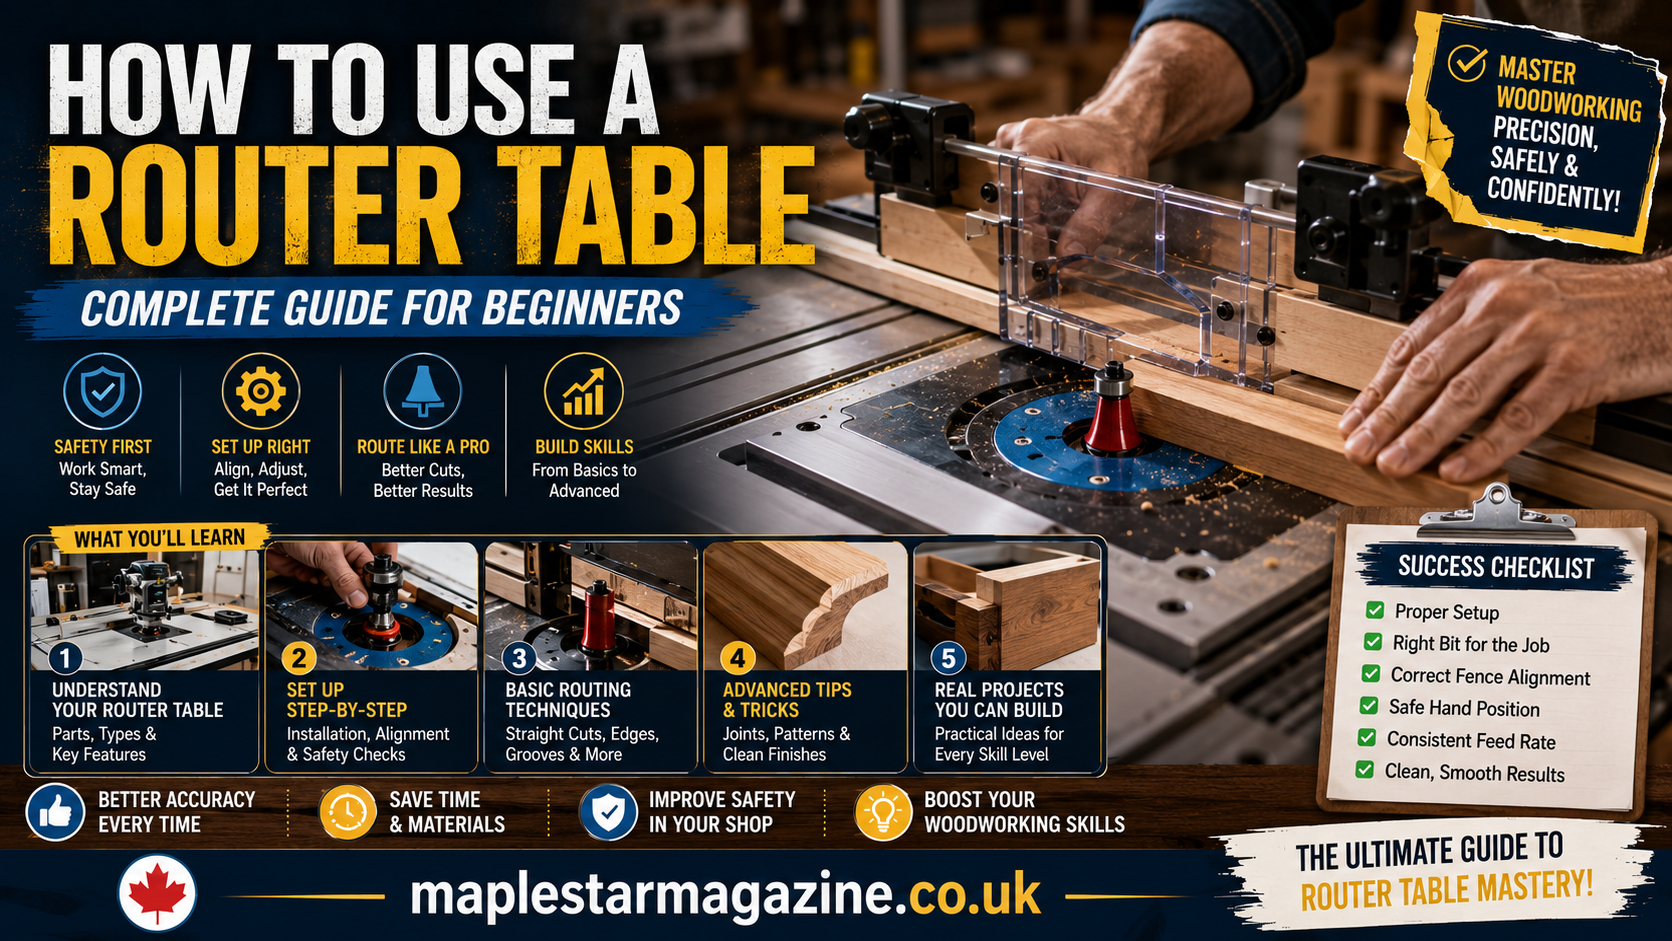
A router table looks intimidating the first time you stand in front of one, spinning bit and all. Get the setup wrong and you risk a scorched edge or a ruined workpiece. Worse, you risk a kickback that snaps the wood out of your hands. Learning how to use a router table properly turns it into one of the safest, most versatile tools in a home shop rather than the scariest one. This guide walks through setup, bit installation, feed direction, cutting depth and the safety rules that actually matter, in the order you will use them on a real project.
Table of Contents
What Is a Router Table and Why Use One
A router table is a router mounted upside down under a flat table, with the bit poking up through an insert plate and a fence to guide the workpiece past it. Instead of moving a handheld router across the wood, you move the wood past a fixed bit, which gives you far more control over small or narrow pieces. Router tables also let you safely run bits too large for a handheld router, such as raised panel door bits. They typically offer better dust collection than routing freehand too.
The tradeoff is setup time. A router table takes a few extra minutes to configure correctly before every cut. That setup is exactly what makes it safer and more precise than freehand routing once you know the steps.
Router Table Parts You Should Know First
Router table parts at a glance
| Part | What it does |
| Insert plate | Flat plate the bit protrudes through, should sit level with the table surface |
| Fence | Adjustable guide that controls how much of the bit contacts the workpiece |
| Miter gauge slot | Channel for a miter gauge or shop-made jigs and featherboards |
| Starter pin | Fixed pivot point for guiding curved cuts without a fence |
| Bit guard | Clear shield that keeps fingers away from the spinning bit |
| Dust port | Connects to a shop vacuum to pull chips and dust away from the cut |
Most of these parts come standard on a benchtop router table, though cheaper models sometimes skip the starter pin or ship with a basic single-piece fence instead of a split fence. Neither is a dealbreaker for a first table. Knowing what each part does makes it much easier to follow setup instructions later in this guide, since most steps reference one of these six parts directly.
How to Set Up Your Router Table Before Cutting
Place the router table on a sturdy, level workbench at a height that lets you feed material without hunching over it. Check that the insert plate sits flush with the table surface, using set screws or shims to level it if it sits proud or sunken, since an uneven insert can catch a workpiece mid-pass. Spin the installed bit by hand before turning the router on to confirm it clears the insert plate opening with no contact.
Keep a sacrificial backer board handy for cuts that could tear out on the exit side. Set up your shop vacuum at the dust port before you start, since a clear line of sight to the cut matters as much as a clean shop.
How to Install and Change a Router Bit Safely
Always unplug the router before changing a bit. Insert the bit fully into the collet, then back it out about one sixteenth of an inch before tightening, which gives the bit room to seat properly under load instead of bottoming out against the shaft. Where possible, choose half-inch shank bits over quarter-inch shanks, since the larger shank flexes less and produces a cleaner cut at the same speed.
Inspect the bit for chips, dullness or resin buildup before every use. A dull or damaged bit forces you to push harder. That extra force is exactly what leads to a slip or a kickback.
How to Set the Correct Bit Height and Cutting Depth
Set bit height using a combination square or a set of setup blocks rather than eyeballing it, since even a small error changes the profile of an edge cut significantly. Avoid cutting deeper than three-eighths of an inch in a single pass. Deeper cuts in one pass strain the router motor, burn the wood at the cut edge and increase the chance of a kickback.
For anything deeper than that, plan two or three passes instead of one. Take the first pass at roughly half the final depth with a slow, steady feed, then raise the bit for a second pass at a slightly faster feed once most of the material is already removed.
How to Set the Fence for Straight and Edge Cuts
The fence controls exactly how much material the bit removes, so set it before you touch the power switch. For a straight edge cut, align the fence so the bit barely grazes the edge of a test piece, then adjust incrementally until the cut matches your target depth. A split fence, where each half can be adjusted independently, lets you close the gap tightly around the bit, which improves both dust collection and support right at the point of the cut.
If a project calls for a curved or freeform cut where a fence would get in the way, switch to the starter pin instead. Brace the workpiece against the pin, then pivot it into the bit under control rather than feeding it straight in.
Feed Direction: The Most Important Router Table Safety Rule
This is the rule that matters more than any other on this list. Always feed the workpiece against the direction the bit is spinning, never with it. Feeding against bit rotation lets the cutting force pull the work firmly into the fence or pin, which is what gives you control. [Link to: Understanding Router Bit Rotation and Cutting Direction]
Feeding with the bit’s rotation is called climb cutting. It does the opposite: the spinning bit can grab the workpiece and yank it away from you at speed, a common cause of kicked-back stock and injured hands. There are a few advanced climb-cutting techniques experienced woodworkers use to prevent tear-out. As a beginner, feed against rotation every time until the standard direction feels automatic.
Making Test Cuts and Multiple Passes for Clean Results
Always run a test cut on scrap wood that matches the thickness of your actual project piece before cutting the real thing. A test cut catches a fence set too aggressively or a bit height that is off before it ruins your material. Feed at a slow, steady pace, since feeding too fast leaves a rough, chipped surface while feeding too slowly can scorch the wood from friction heat.
Bit speed should match the bit’s diameter rather than running everything at full RPM.
Router bit speed by diameter
| Bit diameter | Recommended speed |
| Up to 1 inch | 22,000 to 24,000 RPM |
| 1 to 2.5 inches | 16,000 to 18,000 RPM |
| 2.5 to 3 inches | 12,000 to 14,000 RPM |
| Over 3 inches | 10,000 RPM |
Running a large-diameter bit at full speed spins the outer edge well over 100 miles per hour, which creates excess vibration and heat that a slower, matched speed avoids entirely.
Router Table Safety Essentials
Router table safety deserves its own section rather than a quick aside, because most serious injuries at a router table trace back to a handful of preventable habits. According to OSHA’s woodworking safety guidance, routers should be fitted with an adjustable tool guard and a spindle braking system. Cutting tools should also be properly secured in the holder, since a poorly fastened bit can be flung from the spindle at speed. Kickback is most often caused by feeding stock too abruptly or feeding in the wrong direction. Using stock with a knot or defect that breaks under cutting pressure is another common cause.
Beyond the equipment itself, a short personal checklist prevents most accidents. Keep hands at least three inches from the bit at all times, using a push block or push stick for anything narrower than that. Wear eye protection and hearing protection for every session. Tie back long hair and remove loose clothing or jewelry that could catch on a spinning bit. Never reach over or around a running bit to clear scraps. Turn the router off and let it stop completely first.
Common Router Table Mistakes Beginners Make
Rushing the setup is the most common mistake, especially skipping the hand-spin check on a new bit before powering on. Feeding too fast is a close second, since it looks efficient but usually produces a rough, chattery edge that needs sanding or a second pass anyway. Trying to remove too much material in one pass is a related habit that strains the motor and increases kickback risk for no real time savings. It rarely actually saves time once the rework is factored in.
Ignoring dust collection is an easy one to overlook until a cut is obscured by a cloud of sawdust right when precision matters most. Skipping test cuts on scrap wood rounds out the list, since a five-second test cut is far cheaper than a ruined piece of project-grade material.
A less obvious mistake is buying bits based on price alone. Cheap, low-quality carbide dulls faster and chips more easily than mid-range bits from established brands. A dull bit is one of the most common causes of the exact problems this guide is trying to help you avoid, from burning to kickback. It is also worth resisting the urge to skip the manual that came with your specific router and table. Bit clearance, maximum RPM and collet type vary enough between models that a five-minute read can save a damaged bit or a damaged table.
Maintaining Your Router Table Over Time
A router table that gets regular light maintenance stays safer and more accurate for years. Clear dust and resin buildup from the insert plate and fence after every few sessions, since a buildup of fine dust can throw off how flush the insert sits against the table. Check that the insert plate has not developed play or looseness. Retighten mounting screws if it has, since a shifting insert plate is one of the more common causes of an inconsistent cut depth over time.
Store bits somewhere they cannot knock against each other, since even carbide edges chip on contact with other metal. A simple foam-lined drawer insert or a wall-mounted bit rack both work well and cost very little compared to replacing a damaged bit. Finally, unplug the router and check the power cord periodically for nicks or fraying, particularly near the plug and where the cord meets the router body, since that is where most cord damage happens on a table saw or router used regularly in a home shop.
Frequently Asked Questions
Is a router table safer than a handheld router?
For many cuts, yes. A router table supports the workpiece on a flat surface and lets you guide smaller pieces past a fixed bit, which gives more control than moving a handheld router freehand, especially on narrow stock.
What router bit speed should I use?
Speed should match bit diameter rather than running at full RPM by default. Bits up to 1 inch run around 22,000 to 24,000 RPM, while bits over 3 inches should run closer to 10,000 RPM to avoid excess vibration and heat.
How deep can you cut with a router table in one pass?
Keep single passes to about three-eighths of an inch or less. Deeper cuts in one pass strain the motor, risk burning the wood and raise the chance of a kickback, so split deeper cuts into two or three passes instead.
What is climb cutting?
Climb cutting means feeding the workpiece with the bit’s rotation instead of against it. It can produce a cleaner edge in experienced hands but is riskier for beginners, since the bit can grab and pull the workpiece away from your control.
Do I need a router table as a beginner?
Not immediately, but it becomes valuable quickly once you are doing repeated edge profiles, joinery or work with bits too large for a handheld router. Many beginners start with a handheld router and add a table once a specific project calls for it.
How do you change a router table bit?
Unplug the router first. Loosen the collet, remove the old bit, insert the new one fully, then back it out slightly before tightening so it seats correctly. Always spin the new bit by hand to confirm clearance before turning the router back on.
Final Thoughts
Learning how to use a router table comes down to a handful of habits repeated until they are automatic: set the bit height with a tool instead of a guess, feed against the bit’s rotation, take shallow passes and never skip the test cut. Get those right and a router table becomes one of the most reliable tools in the shop rather than the one you approach with hesitation. Bookmark this guide for your next project. Share it with anyone in your workshop who is still routing freehand out of habit rather than choice.

The Maple Star Magazine editorial team is responsible for the accuracy, structure, and publishing standards that every article on this site is held to. This includes verifying sources before publication, maintaining consistency across our Travel, Technology, Lifestyle and revisiting published guides as facts, pricing, or industry standards change. Content published under this byline reflects collaborative editorial work rather than a single author's individual reporting.